


Installing a shampoo basin is a process that requires real expertise. Technical skills and a thorough understanding of the various components of the unit and how to assemble them are among the qualities required. Whether your shampoo basin is contemporary or modern in style, its installation will always require the assistance of a professional. By following our guide, you’ll now know how to answer this question: How do you install a shampoo basin?

Always follow the installation instructions first and foremost
Although they may vary from one manufacturer to another, the basic steps for fitting them remain the same. Regardless of their experience and professional skills in fitting hairdressing furniture, the expert must follow the assembly instructions to the letter. Like any piece of furniture that needs assembling, the shampoo basin will always be supplied with an installation guide. You should therefore read it carefully and take note of the instructions relating to:
- Water supply lines
- The water drainage system
- The water supply system
- Etc.
Water drainage: a key consideration
If the shampoo basin consists of several basins connected in series, the diameters of the supply pipes must be strictly adhered to. A single measurement error during installation will inevitably lead to a problem with the water flow. We refer to basins in series when there are at least two adjoining wash basins fed from the same source.
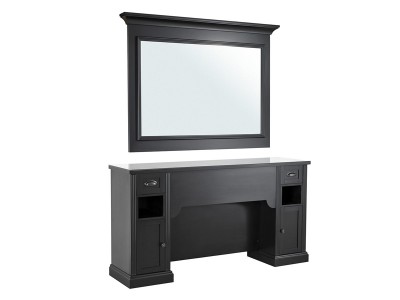
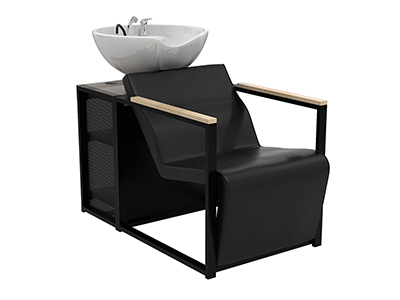
Such as those we offer in the washbasin range: DELTA 2-SEATER, DELTA 2-SEATER + RELAX, DELTA 2-SEATER + MASSAGE, EDDIE SOFA + RELAX… All these models feature state-of-the-art technology, and you can choose the upholstery to match your hairdressing unit.
Make sure you have the necessary tools for installation
Installing a wash unit requires a few DIY tools to ensure the furniture components are properly fitted together and secured to the floor. Here is a non-exhaustive list of some tools you’ll need to have to hand, depending on the model:
- A tape measure
- A spirit level
- A screwdriver
- Adjustable pliers (if necessary)
- Screws
- Etc.
Take the installation measurements
The professional will take measurements on the floor where the washbasin is to be installed, as well as on the wall through which the drain pipes will pass. Once these measurements are known, the expert will prepare the installation area. They will apply a layer of waterproofing product to the surface where the washbasin is to be installed. You will need to wait for this area to dry before continuing.
The installer must ensure that the washbasin’s drain hole aligns perfectly with the drainpipe(s), depending on the specific situation. The manufacturer’s installation guidelines must be followed to secure the drainpipe correctly. Some installations will require a connector to be fitted to the base of the pipe. For other models, however, an extension pre-inserted into the drainpipe will be needed.
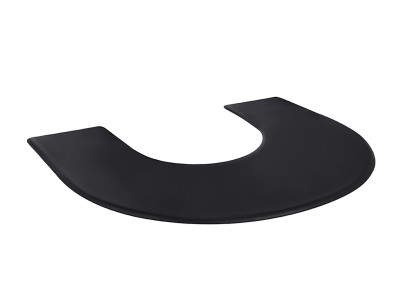
Once the hairdressing chair has been positioned on the floor, it is time to secure the basin to the top of the backrest. The professional should ensure they have the necessary screws to secure it properly.
Now that the shampoo basin is in place, your clients can sit back comfortably and enjoy your hairdressing services!